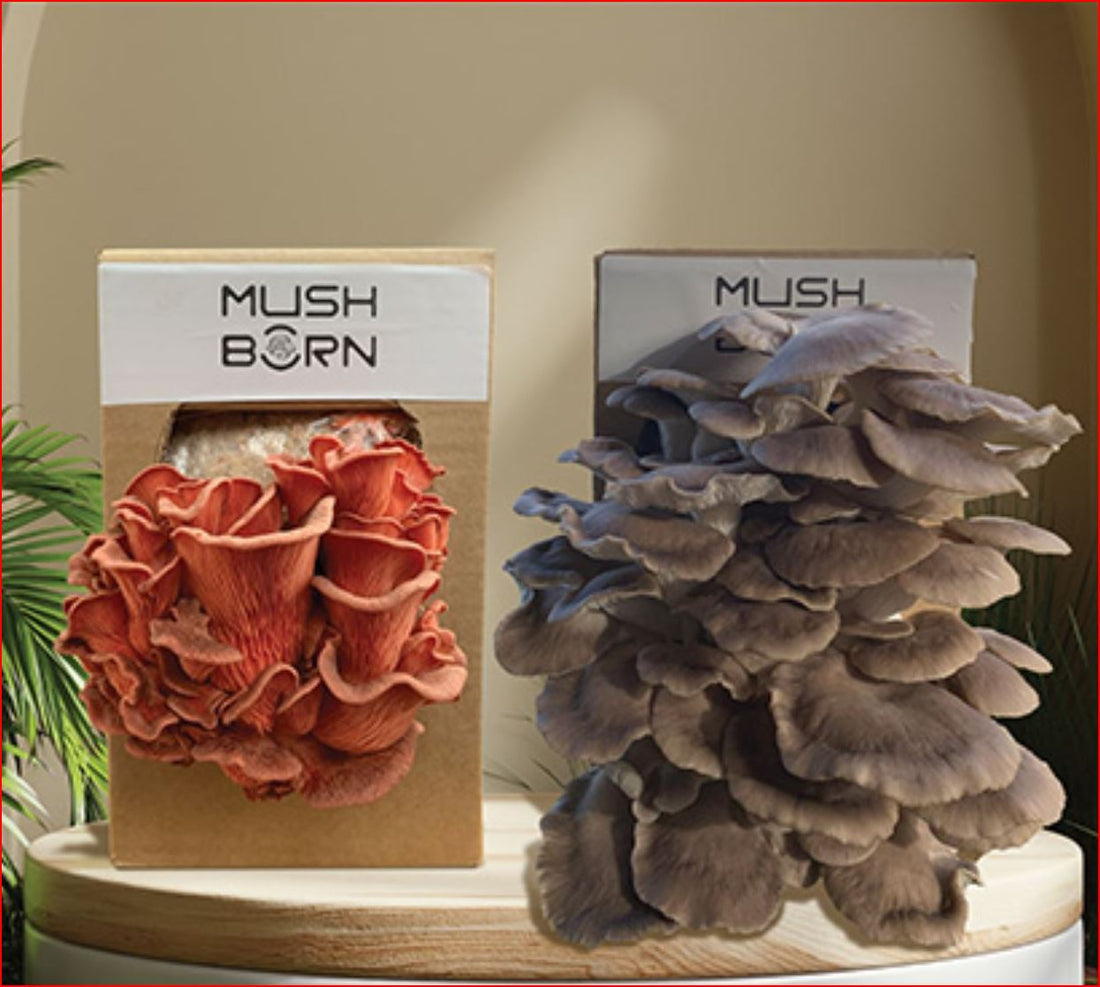
Oyster Mushroom Grow Kit
Instructions on taking care of your home grow kits
Watch the video of how to grow Oyster Mushroom farm here
As soon as you receive it, begin the steps below for the best results.
This Oyster Mushroom grow kit will likely produce around 600g-1 kg of mushrooms in two flushes.
First steps:
To reduce air pockets inside the box and improve the mushrooms' ability to grow through the cut you will make, leave the substrate (bag) inside the package unopened. Using a sterile, sharp blade, carefully cut following the lines that have been drawn for you into the plastic, just piercing the substrate below.
Maintaining:
3–4 times a day, spray/mist the exposed surface of the cut-out with water. The first flush of mushrooms should be seen in a week or two. Spray the bag's surface; do not peel back the cut. Inside, there is already the ideal level of moisture. Please email or contact us with a picture of the cut surface if mushrooms have not appeared after five days. We will assist you in analysing the issue. The emergence of oyster mushrooms takes seven days. It is crucial to leave these alone, even if you might notice some little mushrooms sprouting within the bag. Don't cut more or open the bag more than necessary. Through the "X" cut, the main mushrooms will quickly take over.
Repeat instructions for a second flush.
Location:
The ideal location for your grow kit is inside your house, in a cool place (20°C) away from direct sunlight, such as a kitchen counter, laundry room, or bathroom. Oyster mushrooms need a lot of air to grow. Never place your kit in a closed area, such as a closet or cupboard.
Harvesting:
Once the majority of the caps have taken on the look of being wavy, the mushrooms are ready to be harvested. This usually takes 5-7 days from when the pins first appear. You can also tell they're willing to be harvested if you see spores starting to fall from the caps. If you want confirmation, send a picture to us via email. A second crop of mushrooms may be exceedingly challenging to develop if they are already overgrown. Grab the entire group of mushrooms at the base and carefully pull them off with both hands, breaking it all off at once. There should be very little resistance when it is removed. Trim the stems' tough areas and substrate once the cluster has been removed. If the mushrooms are stored in a plastic container coated with paper towels, they can be kept in the refrigerator for up to 5 days. Remove any remaining waste from the opening when harvesting is finished to ensure the substrate is visible.
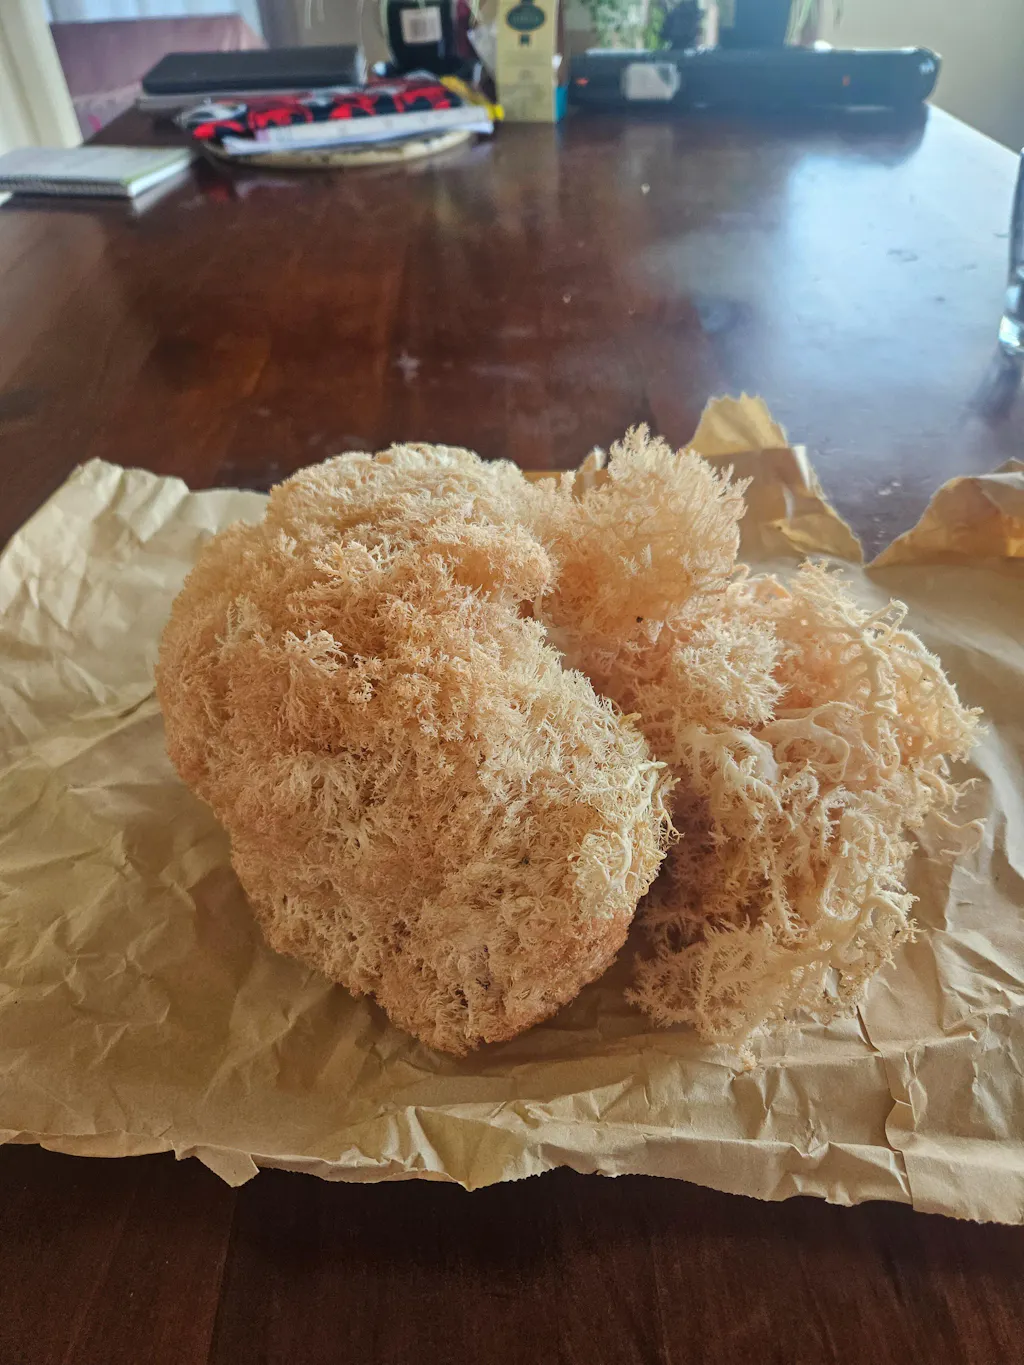
please do not let your grow kit to be overgrown (photo shows an example)
photo: overgrown grey oyster mushrooms. The edges getting curved and mushrooms start to spread their spores.

Second flush:
Restart spraying the kit's cut surface 3-4 times a day. The appearance of consecutive harvests can take anywhere between 3 to 14 days. After seven days, if no new mushrooms have appeared, stop misting for the following three days, and then send us a photo of the cut surface so we can assist you.
For more information, visit our Facebook or Instagram page.
Cook and enjoy!
What's in the substrate:
- 45% Soybean hull
- 50% New Zealand Native Pine Sawdust
- 5% Oat grains
- Fungal Mycelium
Oyster Mushroom:
Grey (Italian) Oyster (Pleurotus pulmonarius) grows fast, from pinning to harvest takes around 5 to 6 days. This mushroom originally grows on hardwood trees such as oak but we grow them on pine sawdust well. Italian Oyster produces more beneficial carbohydrates or specifically polysaccharides such as Beta-glucans. This unique bioactive material can have positive effects against diseases, allergies, and inflammation.