Share

How to Grow Oyster Mushrooms at Home
Share
A bag of oyster mushrooms can go from plain white block to a fresh harvest in days, which is exactly why so many first-time growers get hooked. If you have been wondering how to grow oyster mushrooms without turning your spare room into a science project, the good news is that they are one of the most forgiving gourmet species to start with.
Oyster mushrooms grow quickly, tolerate a wider range of conditions than many other mushrooms, and reward small adjustments in humidity, fresh air and temperature almost immediately. That makes them ideal for curious beginners, home cooks, families and anyone who likes the idea of growing nutrient-dense food with a lighter environmental footprint.
Why oyster mushrooms are the best place to start
If your goal is reliability, oyster mushrooms are hard to beat. They colonise substrate fast, fruit readily, and give clear visual signals when conditions are right or wrong. Compared with fussier varieties, they are less likely to leave you waiting for weeks with nothing to show for it.
They are also practical. Oyster mushrooms are versatile in the kitchen, rich in flavour, and suit everyday meals from stir-fries to soups and pasta. For wellness-minded households, growing your own can feel like a natural extension of a cleaner, more connected food routine - fresh produce, minimal transport, and a better sense of how your food is actually made.
What you need before you begin
The simplest answer to how to grow oyster mushrooms is this: you need a live culture, a food source, moisture, oxygen and the right temperature range. Everything else is about control.
For most home growers, there are two realistic starting points. The first is using a ready-to-fruit grow kit. The second is inoculating your own substrate with grain spawn. A kit is faster and easier, while doing it yourself gives more volume and more learning. Neither is better in every case - it depends whether you want convenience or a more hands-on cultivation process.
If you are starting from scratch, you will generally need oyster mushroom spawn, a pasteurised substrate such as straw, sugarcane mulch, sawdust or coffee grounds, a clean container or grow bag, and a space where you can manage humidity and airflow. Cleanliness matters, but sterile-lab perfection is not the standard here. Oyster mushrooms are vigorous growers, yet contamination can still ruin a batch if your materials are too wet, dirty or poorly handled.
How to grow oyster mushrooms with a kit
A grow kit is the easiest route because the hard part has already been done. The substrate has been inoculated and fully colonised, which means the mushroom mycelium has already taken over the block and is ready to fruit.
Place the kit somewhere bright but out of direct sun. Oyster mushrooms do not need intense light, but they do need some indirect light to form healthy fruiting bodies. A kitchen bench, laundry or sheltered area indoors often works well, provided temperatures are moderate.
Cut or open the bag as directed, then keep the exposed area humid. In most homes this means misting lightly once or twice a day, depending on the season. The goal is to maintain moisture in the air around the block, not to soak the mushrooms themselves. Too much direct spraying can cause waterlogging and encourage bacterial issues.
Fresh air is just as important as humidity. If the space is stale, oyster mushrooms tend to develop long stems and small caps as they stretch for oxygen. If humidity is too low, the edges dry out and growth stalls. Good fruiting usually comes from balancing the two rather than chasing one number.
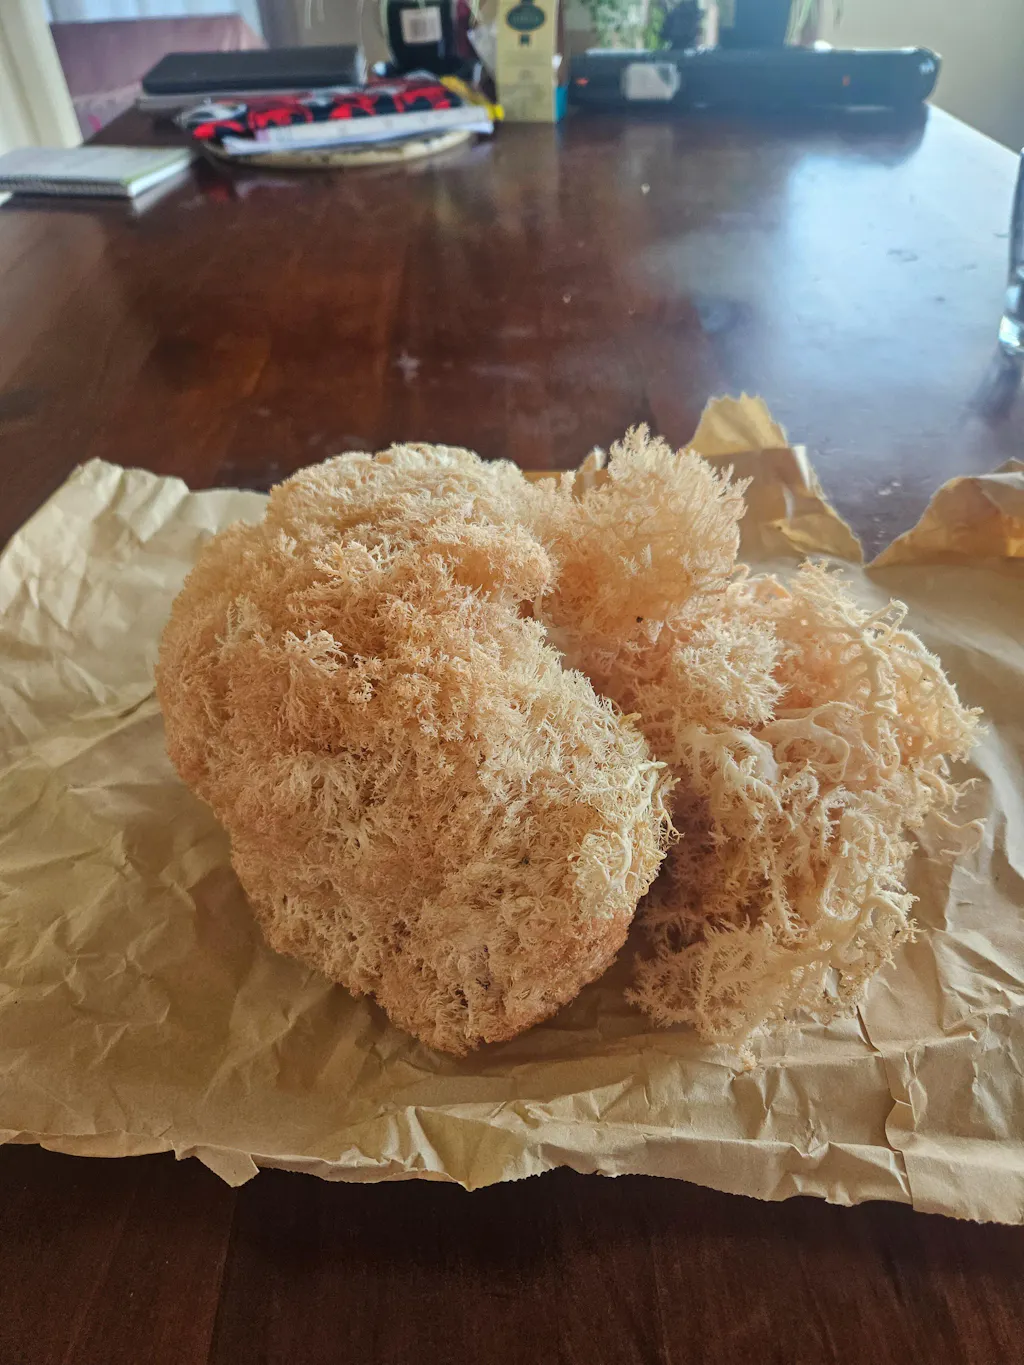
Pins, which are the tiny baby mushrooms, often appear within several days. Once they start, growth is fast. Harvest when the caps are still slightly curled at the edges or just beginning to flatten. Leave them too long and they drop spores, lose texture and become more delicate to cook.
Growing oyster mushrooms from spawn and substrate
If you want bigger harvests, growing from spawn gives you more control. This method starts with preparing a substrate that the mycelium can colonise.
Straw is one of the most beginner-friendly options because it is accessible, affordable and suits oyster mushrooms well. Chop it into shorter lengths, soak it, then pasteurise it with hot water to reduce competing microbes. After draining, the substrate should feel damp but not dripping. If you squeeze a handful and water pours out, it is too wet.
Once cooled, mix in your spawn with clean hands or gloves. Spread it evenly so the mycelium has multiple starting points. Pack the mixture into a grow bag, bucket or container with small air holes, then keep it in a warm, clean place out of direct light while it colonises.
During colonisation, the white mycelium will spread through the substrate over one to three weeks, depending on temperature and spawn rate. If you see healthy white growth, that is a good sign. If you see black, green, orange or sour-smelling patches, contamination has likely taken hold.
When the substrate is fully white, move it into fruiting conditions with more fresh air, higher humidity and indirect light. This is the point where many new growers make mistakes. They keep the block too wet, too stagnant or too warm. Oyster mushrooms are quick, but they still need the right environmental cues to switch from colonising to fruiting.
The conditions that matter most
Humidity
Young oyster mushrooms like high humidity, especially when pinning. If the air is too dry, the pins can abort or the caps can crack. That said, constant surface wetness is not the same as healthy humidity. A humid room, a clear tub with ventilation, or a tented setup can work better than heavy misting.
Fresh air exchange
Oyster mushrooms need more fresh air than many beginners expect. Long stems, tiny caps and oddly shaped clusters usually point to high carbon dioxide. Opening a room occasionally may help, but enclosed setups often need deliberate airflow.
Temperature
Different oyster strains prefer different temperatures. Some do well in cooler conditions, others are happier in warmth. Always check the strain if you can. In New Zealand homes, seasonal shifts matter. A setup that fruits beautifully in autumn may struggle in peak summer unless you move it to a cooler space.
Light
They do not photosynthesise like plants, but they do use light as a signal to form normal mushrooms. A softly lit room is enough. Harsh direct sun will dry them out too quickly.
Common problems and what they usually mean
If your mushrooms are small, stretched or pale, the first thing to check is airflow. Oyster mushrooms are expressive - they show poor air exchange almost immediately.
If pins form but stop growing, low humidity is often the issue. If the block smells off, looks slimy or develops coloured mould, contamination is the more likely cause. Sometimes the problem is simple overhandling. Constantly opening, moving and spraying the setup can create more stress than support.
There is also a timing issue many people miss. A fully colonised block can look ready, but if it has not had the right shift in air, light and humidity, it may delay fruiting. Patience helps, but so does changing one variable at a time instead of everything at once.
Harvesting and getting a second flush
Harvest oyster mushrooms by cutting or twisting off the whole cluster at the base. Try not to leave too many stumps behind, as old tissue can invite contamination.
After the first flush, let the block rest for a few days and keep the moisture steady. Many kits and home blocks produce a second flush, often smaller than the first but still worthwhile. Some produce a third. Results depend on the strain, the health of the substrate and how much energy the first harvest used.
This is one of the trade-offs with oyster mushrooms. They are fast and generous up front, but not every block keeps giving at the same rate. If you want consistent supply for cooking, it can make sense to stagger a few grows rather than relying on one large batch.
Is it worth growing your own?
For most people, yes - if your expectations match the method. A grow kit is worth it for convenience, education and the satisfaction of harvesting fresh mushrooms at home. Growing from spawn is worth it if you enjoy process, want more volume and do not mind a bit of trial and error.
The bigger value is not just yield. It is understanding the life cycle, the freshness difference, and the way mushroom cultivation fits into a more thoughtful food system. That aligns with why so many wellness-focused households are paying closer attention to mushrooms in the first place - not only as ingredients, but as part of a more sustainable, functional way of living.
If you want to start simple, a quality kit is often the smartest first step, and brands such as MUSHBORN have helped make that experience more accessible for New Zealand growers who want local, science-led guidance.
Start with one block, watch it closely, and let the mushrooms teach you. They are remarkably honest growers - when conditions are right, they show you quickly.