
How to Start Mushroom Growing at Home
The fastest way to ruin your first mushroom grow is to overcomplicate it. Most beginners do not fail because mushrooms are hard. They fail because they start with the wrong species, the wrong expectations, or a setup that asks for too much precision too early. If you are wondering how to start mushroom growing, the smartest move is to begin simple, stay clean, and choose a method that suits your space and routine.
Mushroom cultivation sits in an interesting place between food growing, microbiology, and daily ritual. Done well, it gives you fresh produce, a stronger understanding of fungi, and a more direct relationship with what you eat. It can also connect naturally with broader wellness habits, especially if you are already interested in functional mushrooms, sustainable living, or growing more of your own food at home.
How to start mushroom growing without making it harder than it is
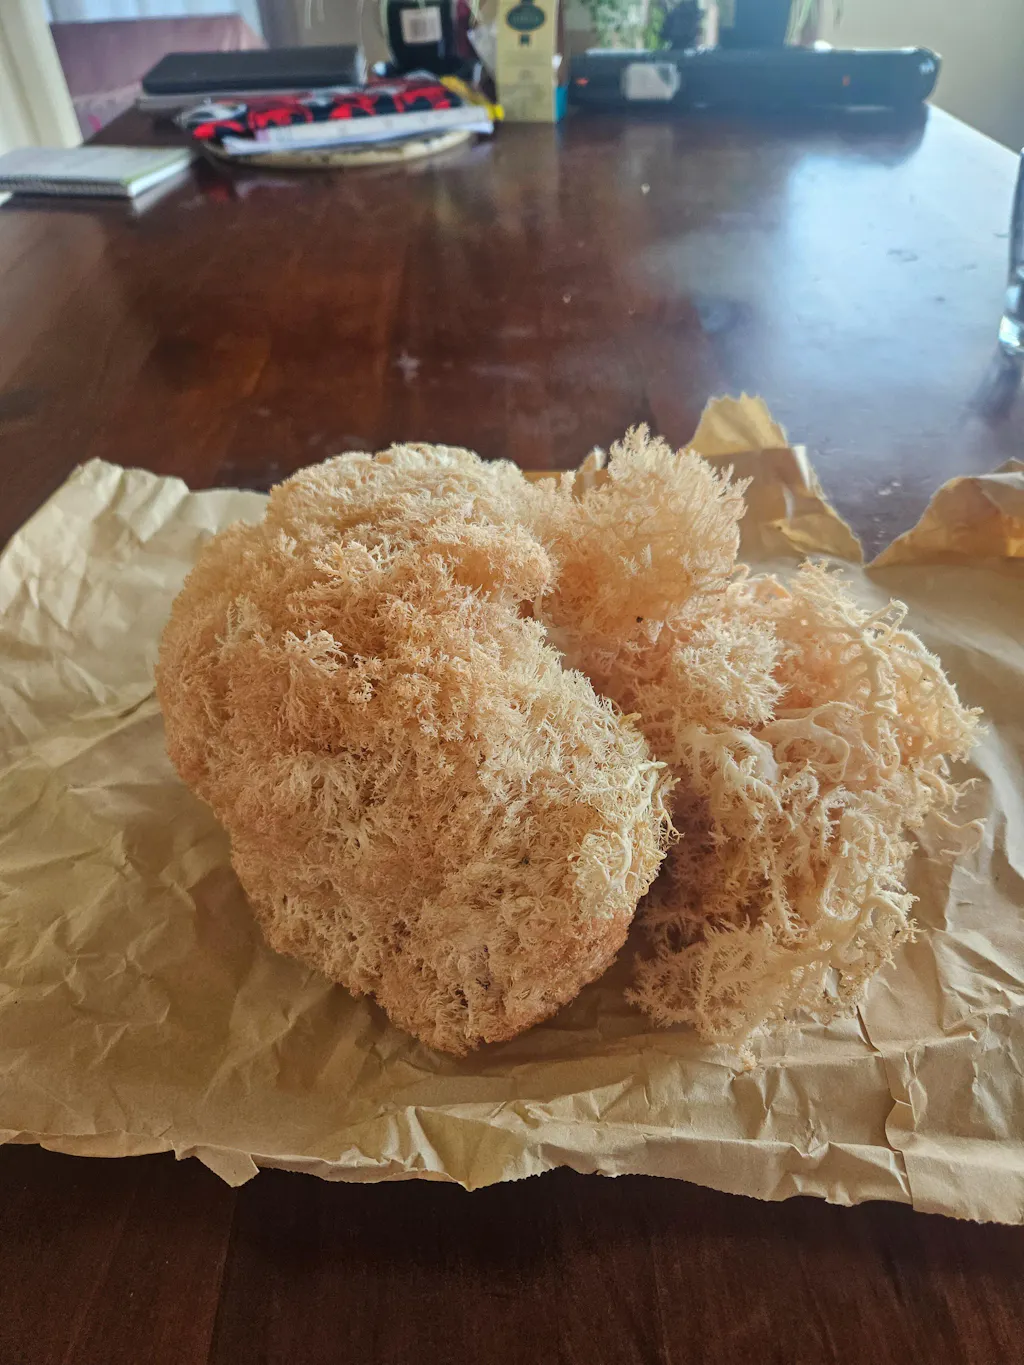
For most households, the best entry point is not building a full lab in the spare room. It is starting with an easy species and a beginner-friendly format. Oyster mushrooms are usually the most forgiving. They colonise quickly, fruit reliably, and tolerate a wider range of conditions than fussier species. Shiitake can be a good next step, but it generally asks for more patience. Lion's mane is popular for obvious reasons, though it tends to reward growers who already understand humidity and fresh air balance.
That trade-off matters. If your goal is confidence and a decent first harvest, choose ease over novelty. If your goal is experimentation and you do not mind a few setbacks, you can try more demanding varieties sooner. There is no single right path, but there is a very clear wrong one - starting with a species that needs tighter control than your current setup can provide.
The other early decision is whether you want to grow from a kit, a ready-to-fruit block, or from scratch using substrate and spawn. A grow kit is the most accessible option because the hard part has already been done for you. The growing medium has been prepared, sterilised or pasteurised, and inoculated. Your job is to give the mushrooms the right fruiting conditions. Growing from scratch gives you more control and can be more economical over time, but it introduces more points of failure, especially contamination.
Choose a growing method that matches your lifestyle
There is a strong temptation to think the more hands-on option is the more authentic one. That is not always true. The best method is the one you will actually maintain.
A countertop or laundry grow kit suits busy households, beginners, and anyone wanting quick feedback. It is also a smart option if you are curious about cultivation but not yet ready to invest in buckets, pressure cookers, or climate control. A kit can show you the rhythm of mushroom growth in a way that is tangible and low risk.
Bucket growing is a common next step, especially for oyster mushrooms. In this method, inoculated substrate sits inside a food-safe bucket with holes for fruiting. It can work well in garages, sheltered outdoor areas, or utility spaces, provided temperatures stay within the range your species prefers. It is practical and scalable, but cleanliness becomes much more important.
Log growing suits people with outdoor space and patience. Shiitake grown on hardwood logs can produce beautifully over time, but the waiting period is far longer. You are building a slow system rather than chasing a fast crop. For some growers, that is part of the appeal.
The basics your mushrooms actually need
Mushrooms do not need sunlight in the same way tomatoes or herbs do, but they do need the right environmental signals. Think in terms of moisture, fresh air, temperature, and cleanliness.
Humidity is what most beginners underestimate. Mushrooms are mostly water, and dry air can stall growth or crack the fruiting bodies before they develop properly. In many homes, especially during cooler months or in heated rooms, ambient air is simply too dry. A clear humidity tent, regular misting, or a naturally damp room can help. At the same time, too much stagnant moisture encourages bacteria and mould. High humidity works best when paired with airflow.
Fresh air is another balancing act. Mushrooms release carbon dioxide as they grow, and if that gas builds up, you can end up with long stems, small caps, or strange shapes. Oyster mushrooms are especially expressive here. Good airflow does not mean placing your grow in a windy spot. It means allowing gentle air exchange so the mushrooms can develop normally.
Temperature depends on species. Oyster mushrooms often perform well across a fairly broad band, but every strain has its comfort zone. Before you start, check the ideal fruiting range and compare it with your home. A grow in an Auckland flat will behave differently from one in a Central Otago shed through winter.
Then there is hygiene. This is the least glamorous part of growing, but it is the difference between healthy mycelium and a bin full of green mould. Clean hands, clean tools, clean surfaces. If you are working from scratch, proper substrate preparation matters just as much as technique.
What you need to grow your first mushrooms
If you are starting with a kit, you need very little beyond the kit itself, a clean area, and a way to maintain moisture. For a scratch grow, the setup becomes more involved. You will usually need mushroom spawn, a suitable substrate such as straw, sawdust, or hardwood pellets depending on species, a container or grow bag, and a space where temperature and humidity are reasonably stable.
Spawn is the seed equivalent in mushroom growing, although technically it is mycelium already growing on a carrier such as grain or sawdust. Quality spawn is worth paying for. Weak or old spawn slows colonisation and increases the chance of contamination getting ahead.
Substrate choice matters because different mushrooms digest different materials more efficiently. Oysters are adaptable and can grow on straw, coffee grounds blends, and supplemented sawdust. Shiitake prefer hardwood-based substrate. Lion's mane usually performs best on hardwood sawdust with supplementation. Matching the species to the substrate is not a minor detail. It is foundational.
The real timeline from setup to harvest
One reason mushroom growing feels so rewarding is that results can come quickly, but only if your expectations are realistic. A ready-to-fruit kit may start pinning within days. A grow from fresh inoculation will take longer because the mycelium has to colonise the substrate first. Depending on species and conditions, that may be a couple of weeks or considerably more.
The fruiting stage moves fast. Tiny pins can become harvest-ready mushrooms in just a few days. That means daily observation matters. Wait too long and caps flatten, edges curl, or texture declines. Harvest too early and yields are smaller. With oysters, a good rule is to pick when caps are well formed but before they become overly flat and begin dropping spores everywhere.
Most blocks or buckets will give you more than one flush, which is a wave of mushrooms from the same substrate. The first flush is often the strongest, but later flushes can still be worthwhile if you keep moisture levels up and avoid stressing the block.
Common problems when learning how to start mushroom growing
If you see green, black, or pink growth where it should not be, assume contamination. Some harmless colour changes can occur depending on species, but obvious mould is usually game over for that section of substrate. Remove it from your main growing area to avoid spreading spores.
If your mushrooms are long and thin, they probably want more fresh air. If they are dry, cracked, or stop developing, humidity is often too low. If they smell sour or unpleasant rather than earthy and mushroom-like, bacteria may be involved.
Sometimes the issue is simpler than growers expect. A block left in direct sun can overheat. A cold snap can pause growth. Over-misting can create pooling water and surface stress. Under-misting can dry out developing pins. Mushroom growing is responsive rather than rigid. Small environmental shifts can create big visual differences.
That is why observation matters more than perfection. You do not need a commercial setup to get a good result. You need to notice what the mushrooms are telling you and adjust early.
When to go beyond the beginner stage
Once you have had a successful grow or two, the next step is not always scaling up. Sometimes it is improving consistency. That might mean tracking temperature, trying a different substrate recipe, or learning basic sterile technique for inoculation. If cultivation becomes part of your wider food and wellness routine, it can be worth exploring species for both culinary and functional use.
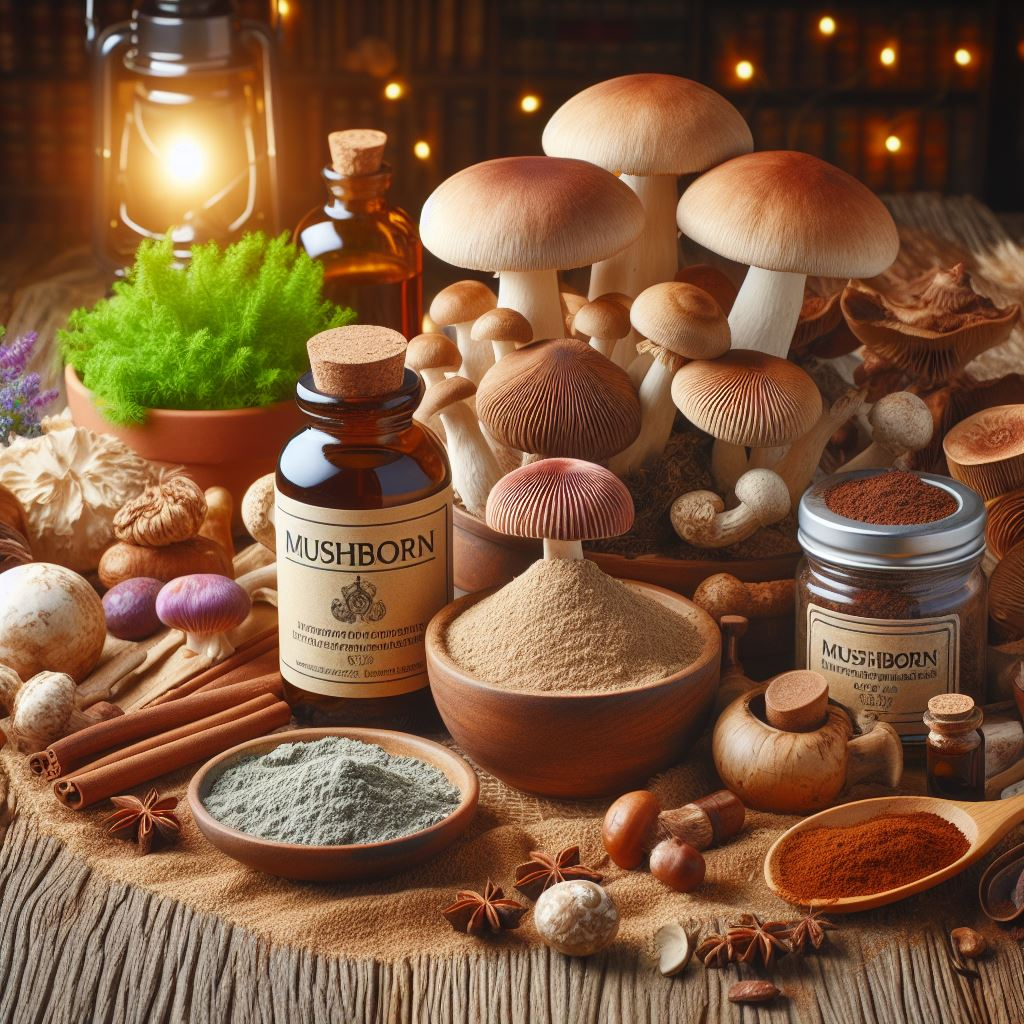
This is where education makes a real difference. A well-designed grow kit can teach timing and environmental control. Workshops and farm-based learning can help you understand the biology behind what you are seeing. Brands like MUSHBORN have helped make that bridge more accessible by connecting home growing with practical education, sustainability, and a broader mushroom lifestyle rather than treating cultivation as a niche hobby.
Starting small is not a compromise. It is usually the reason people keep going. Learn one species well. Get a feel for moisture, airflow, and harvest timing. Build confidence before complexity. Once you understand those basics, mushroom growing stops feeling mysterious and starts feeling like what it really is - a clean, satisfying way to bring more living food into your everyday routine.